
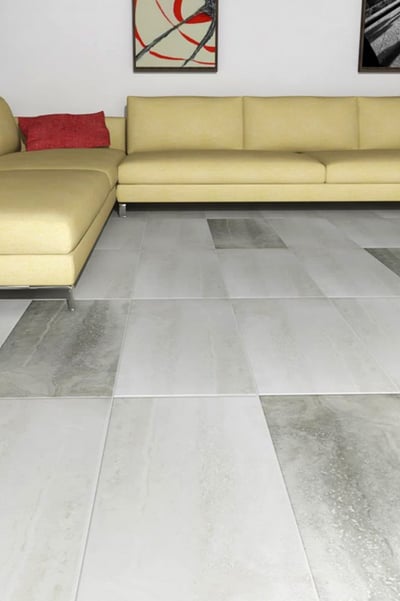
What You Need to Know Before Laying Tile on Concrete
Although putting tile directly over concrete is a common practice, there are a couple issues that need to be addressed to be sure your project stands the test of time, and won't cause issues down the road that could have been easily addressed up-front. The two most important factors are Moisture and Foundation Shifts. Generating a flat, dramatic tile floor doesn’t have to be hard if you plan ahead and take the necessary steps.
Let’s look at Moisture and Foundation Shifts in greater detail.
Moisture can come up from the concrete slab and affect the underside of your tile as well as the adhesive you are using. There is a simple way to test for moisture. Start with a 2 ft. x 2 ft. sheet of plastic. Lay it on the slab in an area that is not affected by sunlight. Tape it securely to the concrete slab so no air can get in. Be sure you keep your thermostat at a constant temperature during this test. After three or four days, check to see if there is any moisture on the underside of the plastic. If you do find moisture, you should not apply the tile directly to the concrete since the moisture can damage the mortar which will loosen the tiles. You should seek the help of a professional to seal the slab before moving forward.
If you do not find moisture, the second issue you need to address is cracks in the slab. Foundation shifts can adversely affect your concrete slab. Installing tile directly on a slab that has even minor cracks can be an issue. Very small cracks of 1/8th of an inch may be filled using a high-quality modified thin-set mortar. Although your floor may look relatively good now, the condition can change over time. When the foundation of the home shifts, and most do have minor shifts over time, the concrete slab can develop hairline cracks that can grow larger over time. Porcelain floor tile cannot compensate for these shifts. Tile has no ability to bend or stretch. As the concrete shifts, the tile will shift with it. To make matters worse, the grout that is used to fill the seams also has no flexibility and will crack as well. The shifting that produces the cracks in the concrete slab will also produce cracks in the tile and/or grout. Thankfully, there is a solution to this problem.
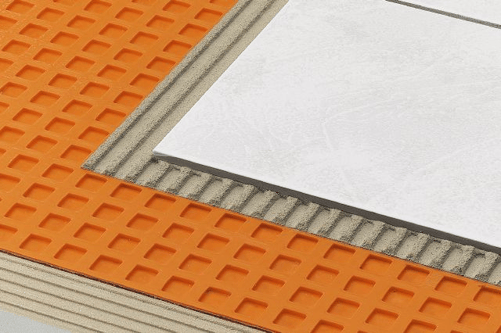
(above) Uncoupling Membrane
The Uncoupling Membrane
You need to “uncouple” the tile from the concrete. An uncoupling membrane placed between the tiles and the concrete slab will help stop the concrete shifts from transferring to the tile above it. The name says it all; the flexible uncoupling membrane detaches the tile from the concrete floor. This layer allows the tile to stay stationary even if the sub-floor shifts. This uncoupling membrane is made of polyethylene and not only prevents your tile from cracking, but it also acts as a barrier to moisture. This is well worth the time and effort as this will prevent your concrete problem from expanding into a tile problem.
However, this solution has its limitations. If the concrete floor shifts dramatically and large cracks develop, the membrane may not have the necessary stretch to uncouple the top surface enough to prevent the crack from being transferred to the grout or tile.
Preparing the Concrete
Preparing the concrete slab for a tile installation is pretty straight forward, but each step is designed to assure you will end up with a flat tile floor that looks great and will stand the test of time.
1 – Sweep the floor thoroughly. No matter how clean the floor may look, sweep it carefully including into the corners.
2 – Scrub the floor. This will remove anything the sweeping cannot eliminate including stains and dried on deposits. Use a degreasing cleanser and a scrub brush to be sure you get any oily and greasy patches. Do not use chemicals on the floor, but you should use a little elbow grease.
3 – Rinse with warm water and dry with towels (do not air dry). Give the floor at least 24 hours to thoroughly dry.
4 – Locate any cracks in the floor and patch them; this includes hairline cracks that may grow. Use a professional concrete patching product and a trowel. Be sure to smooth it out so there are no bumps or high points on the floor. When dry, scrape the area to ensure the surface is perfectly flat or you could cause a tile to rock or crack on a high point. Follow the directions on the compound for drying time.
5 – Use the concrete patching product to level any indentations or depressions in the floor. Use the trowel to make sure the area is flat and there is no extra patching product left on the floor. Always allow 12 to 24 hours for the deeper depressions to dry.
6 – Sweep up any left-over dust and patching remnants and then apply a concrete sealer. This will help protect against any seepage of moisture from the slab to the tile and grout. Apply evenly and cover into the corners. Allow to dry completely.
7 – Laying down an uncoupling membrane is an optional step. If you decide that the uncoupling layer is needed, you would lay it over the dried sealer. Make sure it is laid evenly and flat.
Picking the Right Tile
Your concrete floor is now ready to have ceramic or porcelain tie applied on top of it. The final step is choosing the right tile for the amount of traffic the floor will receive. Different tiles are rated differently and you need to pick the right tile.
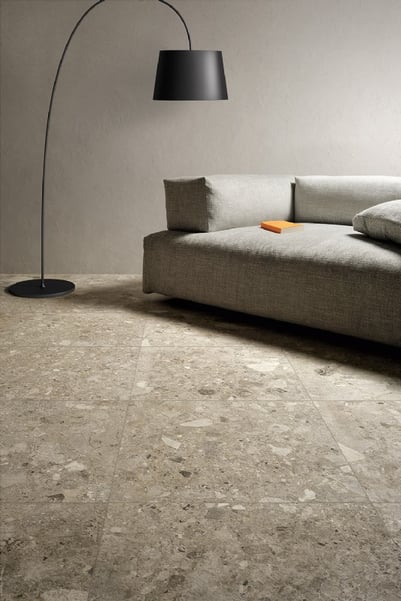
(above) Breccia Field Tile in Beige
It is important to deal with a professional tile and stone dealer before making these decisions. They also have an enormous selection to choose from. GENROSE Stone and Tile across the Northeast is a design driven company, providing a wide selection of ceramic and porcelain tile.
Contact the professionals at GENROSE Stone & Tile at one of their eleven Northeast locations, or search their website at www.genrose.com to start building your dream.
GENROSE Stone and Tile is an accredited fabricator with the Natural Stone Institute.